Holiday Sugar Cookies with Royal Icing (classic)
Printed from Inclusive Kitchen — Holiday Sugar Cookies with Royal Icing
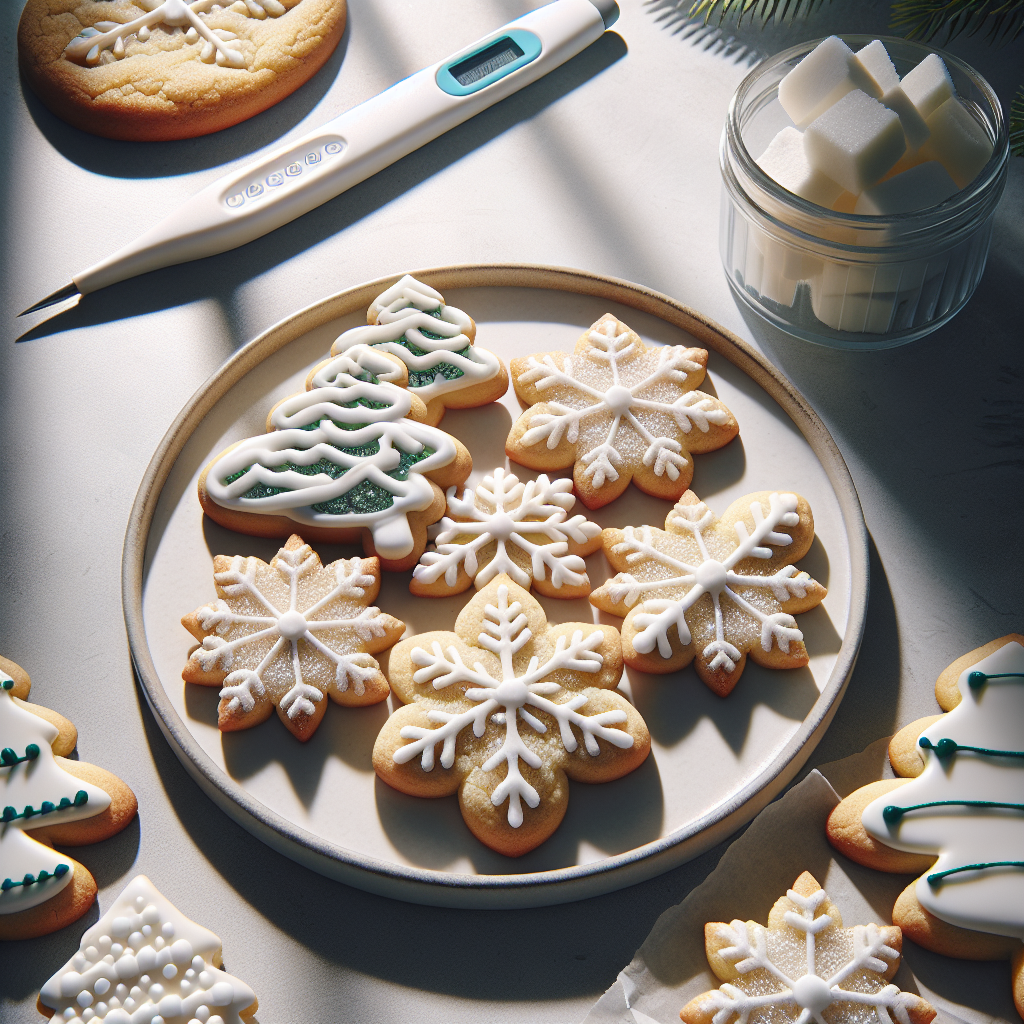
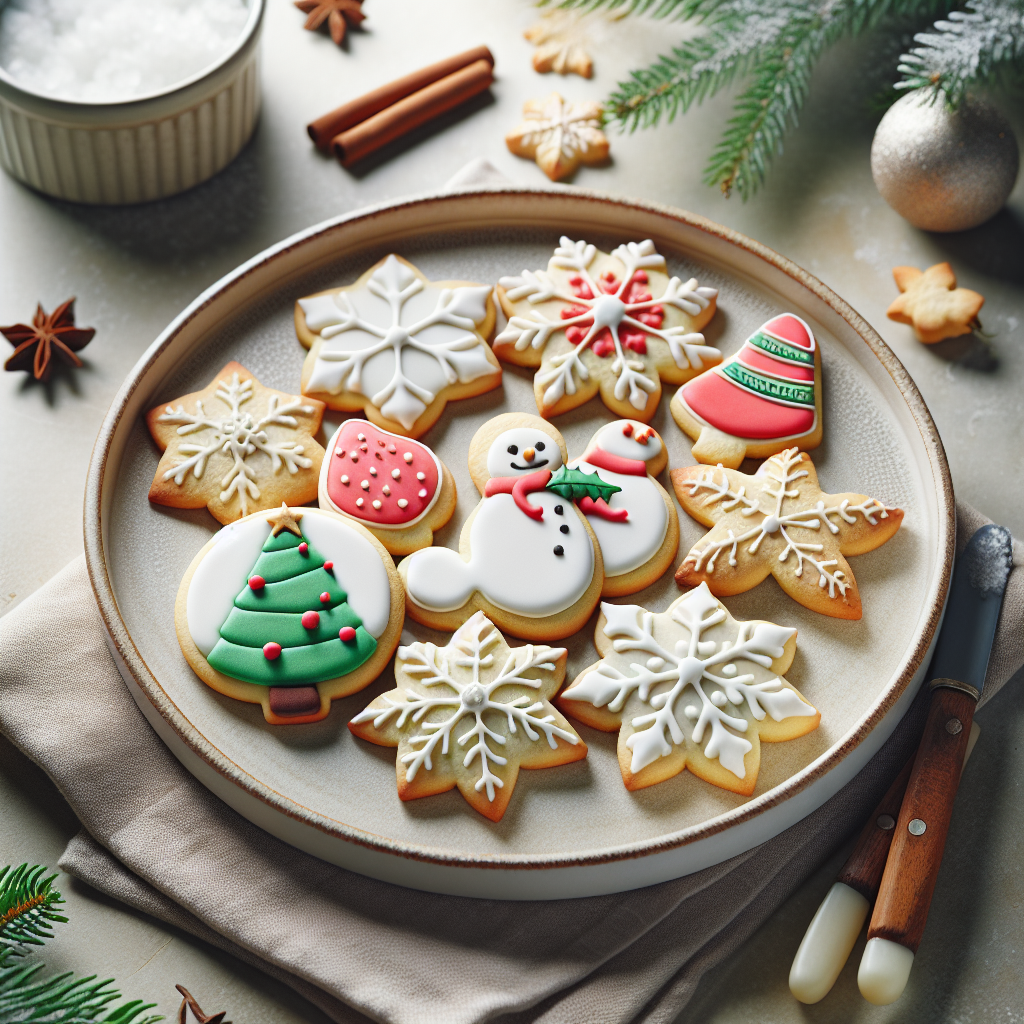
Holiday sugar cookies are a cherished tradition in many American households, often made during the festive season. These cookies are not only a treat for the taste buds but also a canvas for creativity, as they can be decorated in countless ways. The classic version of these cookies features a buttery, sweet dough that holds its shape beautifully when baked, making them ideal for intricate designs.
The origins of sugar cookies can be traced back to the early 1700s in Nazareth, Pennsylvania, where German settlers created a simple, sweet dough. Over the years, these cookies have evolved into the festive favorites we know today, often adorned with colorful royal icing. Decorating sugar cookies can be a delightful family activity, bringing everyone together to unleash their inner artist. Just remember, if your icing looks more like abstract art than a snowman, you might be onto something new!
These holiday sugar cookies are perfect for gifting, sharing at parties, or simply enjoying with a glass of milk. The royal icing adds a beautiful finish and a touch of sweetness that complements the cookies perfectly. Whether you choose to keep it simple or go all out with elaborate designs, these cookies are sure to bring joy to your holiday celebrations. So, roll up your sleeves, preheat that oven, and let’s get baking!
Ingredients
- 1 cup unsalted butter, softened
- 1 cup granulated sugar
- 1 large egg
- 2 teaspoons vanilla extract
- 3 cups all-purpose flour
- 1 teaspoon baking powder
- 0.5 teaspoon salt
- 2 cups royal icing
Instructions
- Begin by gathering your ingredients and equipment. You will need a large mixing bowl, a hand mixer or stand mixer, measuring cups and spoons, a rolling pin, and cookie cutters. Preheat your oven to 350°F (175°C) to ensure it’s hot and ready for baking.
- In the large mixing bowl, cream together 1 cup of softened unsalted butter and 1 cup of granulated sugar using your mixer on medium speed. Continue mixing until the mixture is light and fluffy, which should take about 3-5 minutes. This step is crucial as it incorporates air into the dough, giving your cookies a tender texture.
- Add 1 large egg and 2 teaspoons of vanilla extract to the butter-sugar mixture. Mix on low speed until fully combined, scraping down the sides of the bowl as needed. This will help ensure that all ingredients are evenly incorporated.
- In a separate bowl, whisk together 3 cups of all-purpose flour, 1 teaspoon of baking powder, and 0.5 teaspoon of salt. Gradually add this dry mixture to the wet ingredients, mixing on low speed until a soft dough forms. Be careful not to overmix, as this can lead to tough cookies.
- Once the dough is formed, divide it into two equal portions and shape each into a disk. Wrap each disk in plastic wrap and refrigerate for at least 1 hour. Chilling the dough is essential as it helps the cookies maintain their shape during baking.
- After chilling, remove one disk of dough from the refrigerator and let it sit at room temperature for about 5 minutes. This will make it easier to roll out. On a lightly floured surface, roll the dough to about 1/4 inch thick.
- Use cookie cutters to cut out shapes from the rolled dough. Place the cutouts on ungreased baking sheets, leaving about 1 inch of space between each cookie. Bake in the preheated oven for 8-10 minutes, or until the edges are lightly golden.
- Once baked, remove the cookies from the oven and let them cool on the baking sheets for 5 minutes before transferring them to wire racks to cool completely. This cooling period is important to prevent the cookies from breaking when you move them.
- While the cookies cool, prepare your royal icing. You can use store-bought or make your own by mixing powdered sugar, egg whites, and a bit of lemon juice until smooth. The icing should be thick enough to hold its shape but thin enough to pipe.
- Once the cookies are completely cool, use the royal icing to decorate them as desired. You can pipe outlines, fill in shapes, or create intricate designs. Allow the icing to dry completely, which may take several hours.
- After the icing has dried, your holiday sugar cookies are ready to be enjoyed! Store them in an airtight container to keep them fresh. These cookies can be a delightful addition to any holiday gathering or a sweet gift for friends and family.
- Remember, the key to beautiful cookies is practice and patience. If your first batch doesn’t turn out as expected, don’t worry! Just think of it as a delicious learning experience.
Nutrition (per serving)
- Calories: 120
- Carbs g: 18
- Protein g: 1
- Fat g: 5
- Sugar g: 6